WordPress – style.cssの書き方
WordPressではすべてのテーマにstyle.cssファイルが必要になります。このCSSファイルがないとテーマとして機能しないので注意が必要です。またWordPressの独自の記述でテーマに関する情報を作成することができるのでそちらについても説明したいと思います。
WordPressでのstyle.cssの役割とは
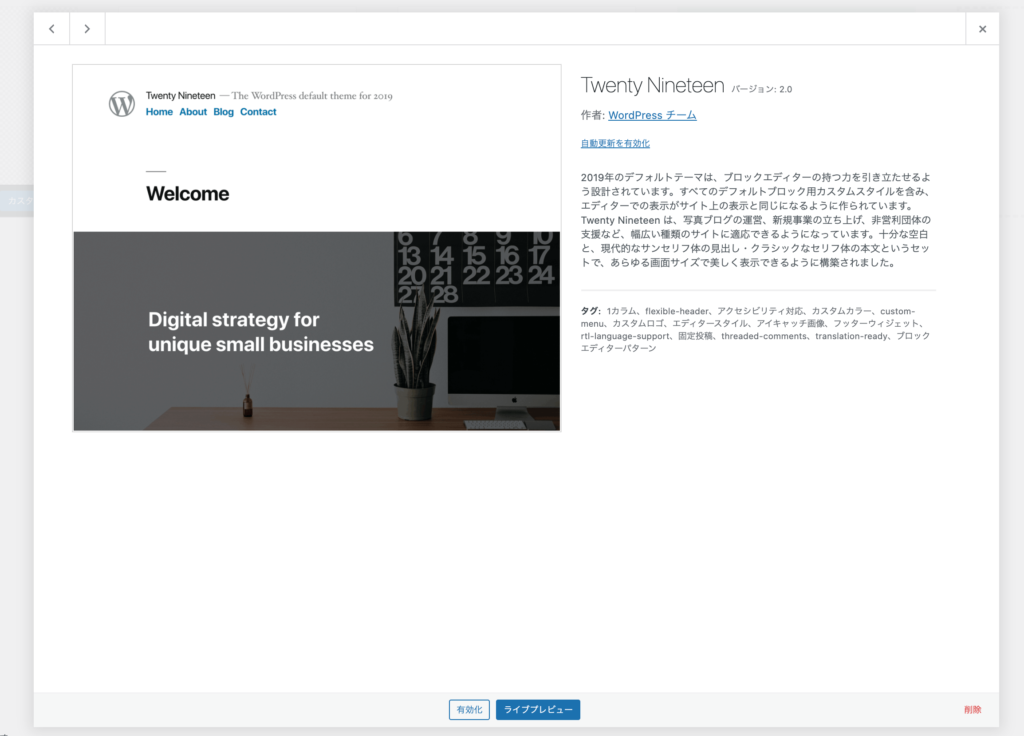
WordPressでは、style.cssにヘッダーコメントセクションを使用することで「外観」→「テーマ」→「テーマの詳細」にテーマ情報を表示することができます。
style.cssの書き方
こちらは「Twenty Nineteen」の例です。こちらをstyle.cssの1行目あたりに埋め込むことでテーマの情報が表示されるようになります。
/*
Theme Name: Twenty Nineteen
Theme URI: https://wordpress.org/themes/twentynineteen/
Author: the WordPress team
Author URI: https://wordpress.org/
Description: Our 2019 default theme is designed to show off the power of the block editor. It features custom styles for all the default blocks, and is built so that what you see in the editor looks like what you'll see on your website. Twenty Nineteen is designed to be adaptable to a wide range of websites, whether you’re running a photo blog, launching a new business, or supporting a non-profit. Featuring ample whitespace and modern sans-serif headlines paired with classic serif body text, it's built to be beautiful on all screen sizes.
Requires at least: 4.9.6
Requires PHP: 5.2.4
Version: 2.0
License: GNU General Public License v2 or later
License URI: http://www.gnu.org/licenses/gpl-2.0.html
Text Domain: twentynineteen
Tags: one-column, flexible-header, accessibility-ready, custom-colors, custom-menu, custom-logo, editor-style, featured-images, footer-widgets, rtl-language-support, sticky-post, threaded-comments, translation-ready, block-patterns

This theme, like WordPress, is licensed under the GPL.
Use it to make something cool, have fun, and share what you've learned with others.
*/
上記のコメントの詳細を知りたい方は下記をご覧ください。
ヘッダーコメントセクションの説明
太字である箇所はWordPressでは必須項目となっています(特になくても問題はありません)。
- Theme Name…テーマ名。
- Theme URI…テーマに関する詳細情報の公開ページのリンク(例:https://wordpress.org/themes/twentynineteen/)。
- Author…テーマを開発した個人名または組織名。WordPressでは、wordpress.orgユーザー名を使用すること推奨。
- Author URI…テーマを作成した個人または組織のURL。
- Description…テーマについての説明。
<a></a>タグで囲むことでリンクを生成することも可能。 - Version…テーマのバージョン。形式は「1.5」とか「1.2.5」での記述。
- Requires at least…動作に必要な最低限のWordPressバージョン。
- Tested up to…動作確認済の最新WordPressバージョン
- Requires PHP…サポートされている最も古いPHPバージョン
- License…テーマのライセンス。
- License URI…テーマライセンスのURL。
- Text Domain…翻訳用のテキストドメインに使用される文字列。
- Tags…ユーザーがタグフィルターを使用してテーマを検索できるようにする単語またはフレーズ。詳しくは「Theme Tags」をご覧ください。
- Domain Path…プラグインの翻訳の場所を定義します。
個人またはチームでしかテーマを触らないのであれば、上記の項目は細かく気にする必要はないかと思います。テーマをwordpress.orgで公開したいのであれば記述しましょう。
style.cssファイルを置く場所
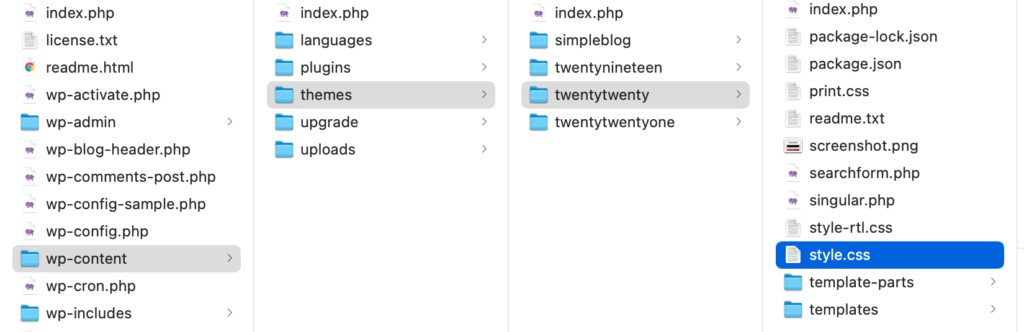
WordPressで独自のテーマを作成するには必ずstyle.cssファイルを独自テーマの直下のディレクトリにある必要があります。
style.cssを読み込ませるには
基本的にはfunctions.phpファイルにwp_enqueue_script()かwp_enqueue_style()を使用します。
header.phpに直接記述し読み込ませる方法もありますが、ここではfunctions.phpから読み込ませる方法をご紹介します。
まずheader.phpファイルにwp_head();を記述します。</head>タグの前に基本的には記述します。
<!DOCTYPE html>
<html <?php language_attributes(); ?>>
<head>
    <meta charset="<?php bloginfo('charset'); ?>">
    <meta name="viewport" content="width=device-width, initial-scale=1">

    <?php wp_head(); ?>
</head>
<body>このwp_head();を使うことでfunctions.phpファイルが読み込まれるようになります。
functions.phpからstyle.cssを読み込ませる方法
style.cssを読み込ませたい場合はwp_enqueue_style();を使用。functions.phpに書くと下記の感じになります。
function setup_theme(){
 //style.cssを読み込ませる
  wp_enqueue_style('style', get_stylesheet_uri());
}
add_action('wp_enqueue_scripts', 'setup_theme');また、CSSファイルを複数使用したい時もあるかと思います。そんな時はget_template_directory_uri()を使うことで解決できます。例えば、cssディレクトリの中のsingle.cssファイルを読み込ませたい場合は次のようにします。
function setup_theme(){
 //style.cssを読み込ませる
  wp_enqueue_style('style', get_stylesheet_uri());

 //single.cssを読み込ませる
 wp_enqueue_style('single', get_template_directory_uri() . '/css/single.css');
}
add_action('wp_enqueue_scripts', 'setup_theme');
テーマのサムネイルが表示させたい場合
style.cssからテーマの情報を入力ができるようになりましたが、テーマの画像を表示するにはstyle.cssファイルを置いた同じ階層にscreenshot.pngを置きます。WordPressではPNG形式を推奨しています(jpg,jpeg,gifなども使えますが非推奨)。
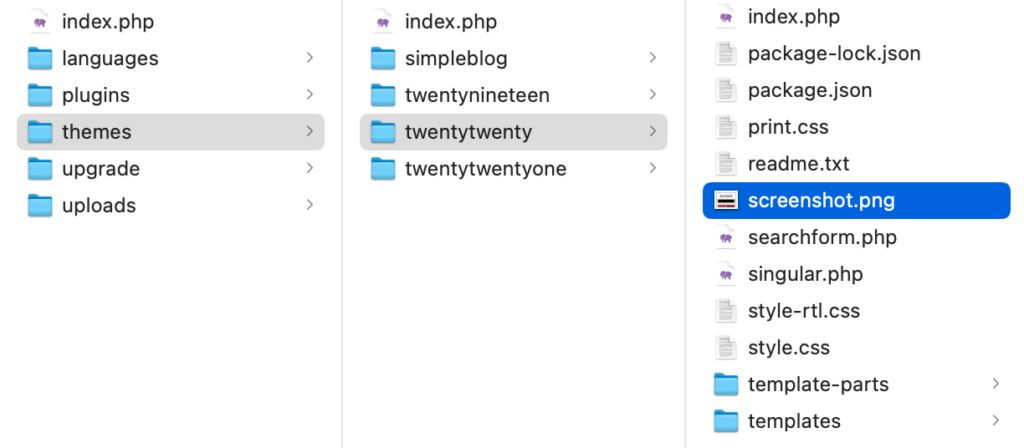
推奨される画像サイズは、幅1200ピクセル、高さ900ピクセルです。スクリーンショットは通常小さく表示されますが、サイズが大きすぎる画像を使用すると、HiDPIディスプレイで高解像度で表示できます。[テーマの管理]画面は応答性が高いため、スクリーンショット画像の上部と下部が表示されない場合があるため、グラフィックを中央近くに置いてください。